根据前面默认的demo已经可以运行了,接下来就开始加组件。先加上底部菜单,分别是支出、收入、图表、设置,对应着记录支出项、记录收入项、 查看阶段图表汇总和分析、个人信息和app设置。
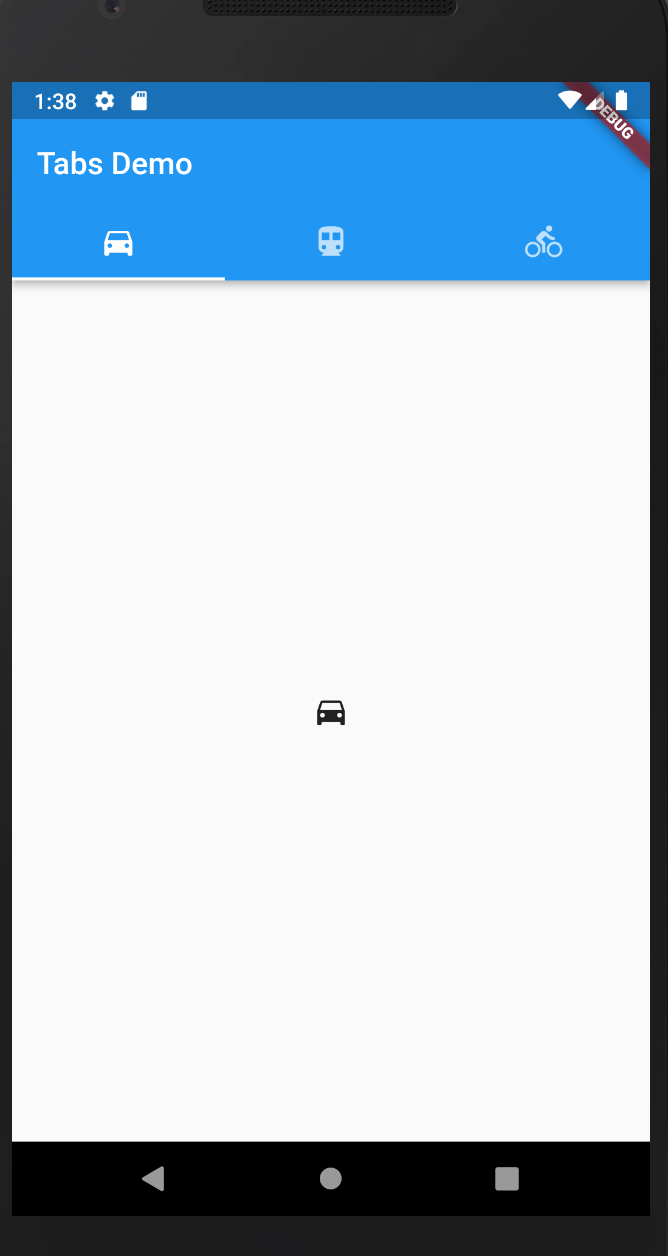
对于tab bar,官网有一个例子,可以参考但是不满足我的需要。因为它的tab在上方。
代码和图如下:
void main() {
  runApp(const TabBarDemo());
}

class TabBarDemo extends StatelessWidget {
  const TabBarDemo({Key? key}) : super(key: key);

  @override
  Widget build(BuildContext context) {
    return MaterialApp(
      home: DefaultTabController(
        length: 3,
        child: Scaffold(
          appBar: AppBar(
            bottom: const TabBar(
              tabs: [
                Tab(icon: Icon(Icons.directions_car)),
                Tab(icon: Icon(Icons.directions_transit)),
                Tab(icon: Icon(Icons.directions_bike)),
              ],
            ),
            title: const Text('Tabs Demo'),
          ),
          body: const TabBarView(
            children: [
              Icon(Icons.directions_car),
              Icon(Icons.directions_transit),
              Icon(Icons.directions_bike),
            ],
          ),
        ),
      ),
    );
  }
}
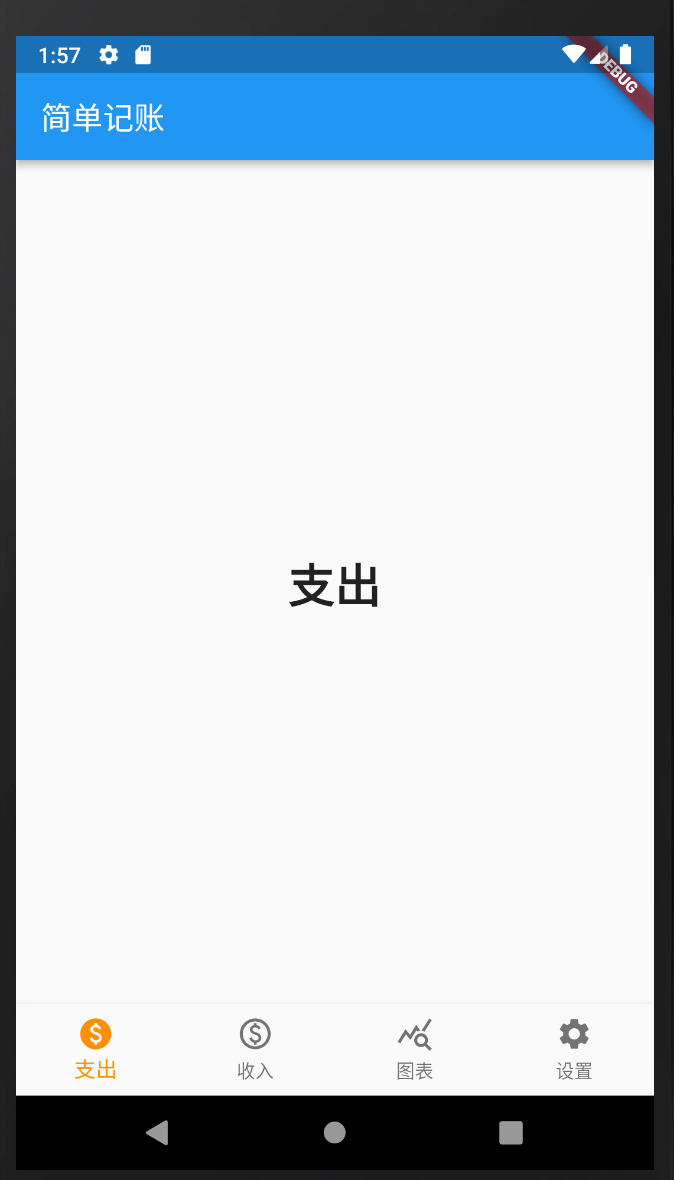
改动需要用到BottomNavigationBar,添加bar的类目,设置index,并为每一个tab添加文本;
但是有个问题需要注意下,如果bottom bar有两个或者三个item时,显示都是黑色图表加白色背景,但是一旦添加到4个item时,就变成了白色的,导致必须鼠标移动上去才能看到。搜索时看到这样一个说明:“When more than 3 BottomNavigationBar items are provided the type, if unspecified, changes to BottomNavigationBarType.shifting”。对于这个问题的修改也很简单,在BottomNavigationBar的定义里加上这一句即可:"type: BottomNavigationBarType.fixed"。
代码和图如下:
import 'package:flutter/material.dart';

void main() => runApp(const MyApp());

class MyApp extends StatelessWidget {
  const MyApp({Key? key}) : super(key: key);

  static const String _title = 'App Title';

  @override
  Widget build(BuildContext context) {
    return const MaterialApp(
      title: _title,
      home: MyStatefulWidget(),
    );
  }
}

class MyStatefulWidget extends StatefulWidget {
  const MyStatefulWidget({Key? key}) : super(key: key);

  @override
  State<MyStatefulWidget> createState() => _MyStatefulWidgetState();
}

class _MyStatefulWidgetState extends State<MyStatefulWidget> {
  int _selectedIndex = 0;
  static const TextStyle optionStyle =
      TextStyle(fontSize: 30, fontWeight: FontWeight.bold);
  static const List<Widget> _widgetOptions = <Widget>[
    Text(
      '支出',
      style: optionStyle,
    ),
    Text(
      '收入',
      style: optionStyle,
    ),
    Text(
      '图表',
      style: optionStyle,
    ),
    Text(
      '设置',
      style: optionStyle,
    ),
  ];

  void _onItemTapped(int index) {
    setState(() {
      _selectedIndex = index;
    });
  }

  @override
  Widget build(BuildContext context) {
    return Scaffold(
      appBar: AppBar(
        title: const Text('简单记账'),
      ),
      body: Center(
        child: _widgetOptions.elementAt(_selectedIndex),
      ),
      bottomNavigationBar: BottomNavigationBar(
        type: BottomNavigationBarType.fixed,
        items: const <BottomNavigationBarItem>[
          BottomNavigationBarItem(
            icon: Icon(Icons.paid),
            label: '支出',
          ),
          BottomNavigationBarItem(
            icon: Icon(Icons.paid_outlined),
            label: '收入',
          ),
          BottomNavigationBarItem(
            icon: Icon(Icons.query_stats),
            label: '图表',
          ),
          BottomNavigationBarItem(
            icon: Icon(Icons.settings),
            label: '设置',
          ),
        ],
        currentIndex: _selectedIndex,
        selectedItemColor: Colors.amber[800],
        onTap: _onItemTapped,
      ),
    );
  }
}
参考链接:
https://api.flutter.dev/flutter/material/BottomNavigationBar-class.html
文章评论 (0)